I wanted to test the customization capability of my script more, and I found a suitable subject.
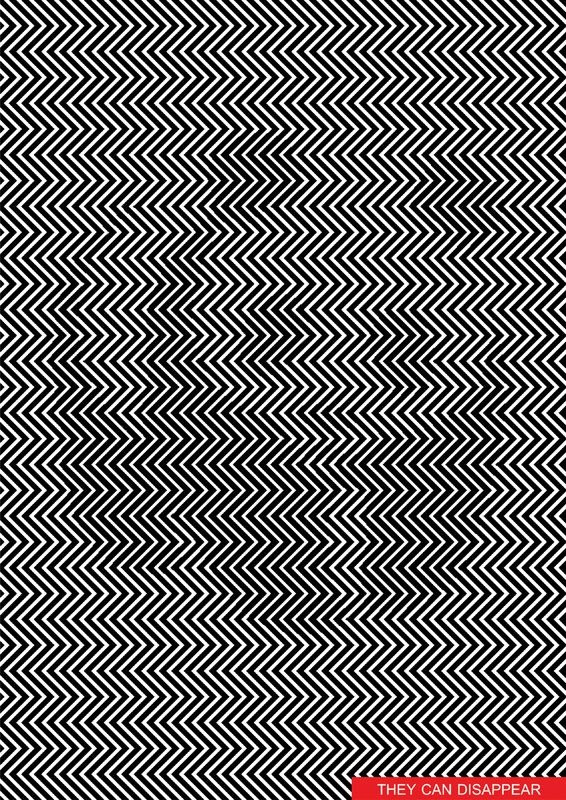
The original:
You are supposed to be able to see a panda in the center. The canonical url seems to be this.
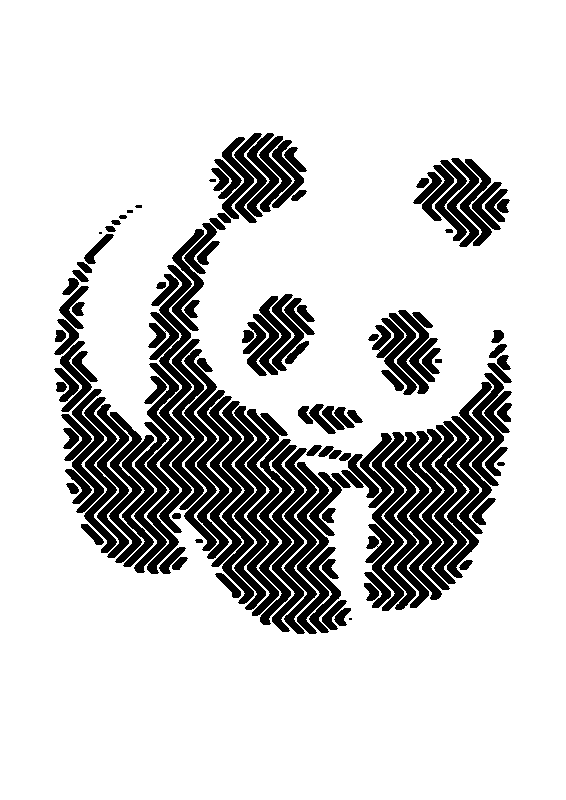
panda part only:
I extracted the panda part. Since I couldn't find the better way, I actually counted the number of black and white pixels using Python and Pillow. The difference was very small, iirc, the zig-zag line width of the non-panda part was horizontally 7 to 8 pixels, and the panda part was 8 to 9 pixels (13% increase). After that I adjusted the image with gimp (removed unrelated black spots, added small blur).
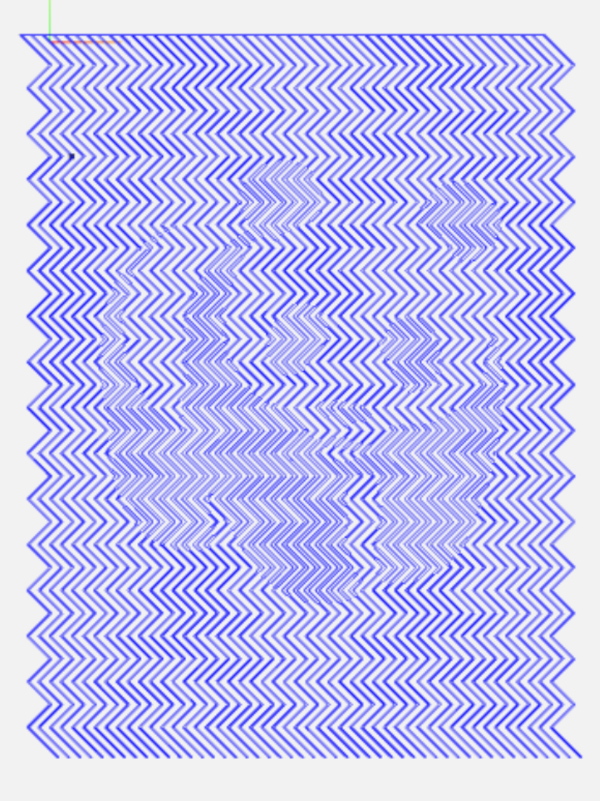
g-code path:
Although it is hard to see from the image below, each zig-zag line is made from two paths. The planned line width is 0.7mm, which is going to made from two 0.5mm end mill paths, horizontally 0.2mm displaced. If the paths enters 'the panda part', the paths horizontally moves even more (0.1-0.15mm).
(The image was made using ncviewer.)
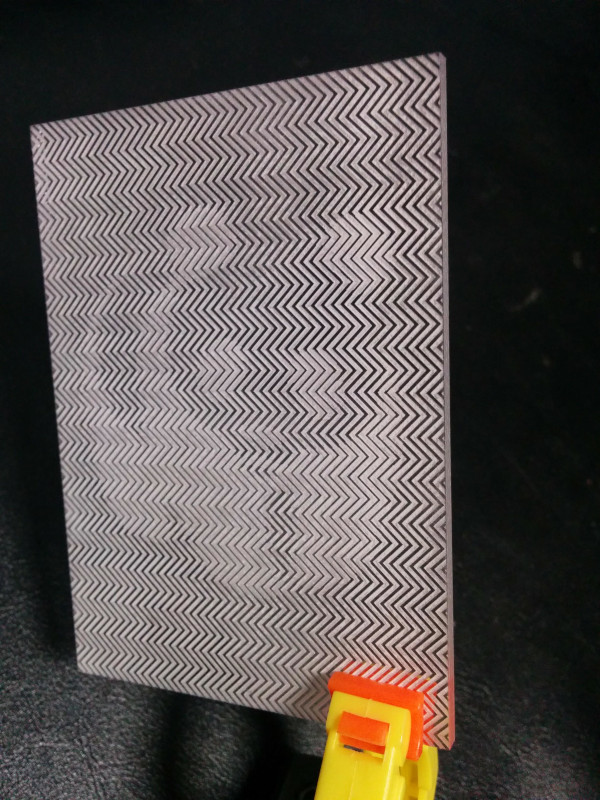
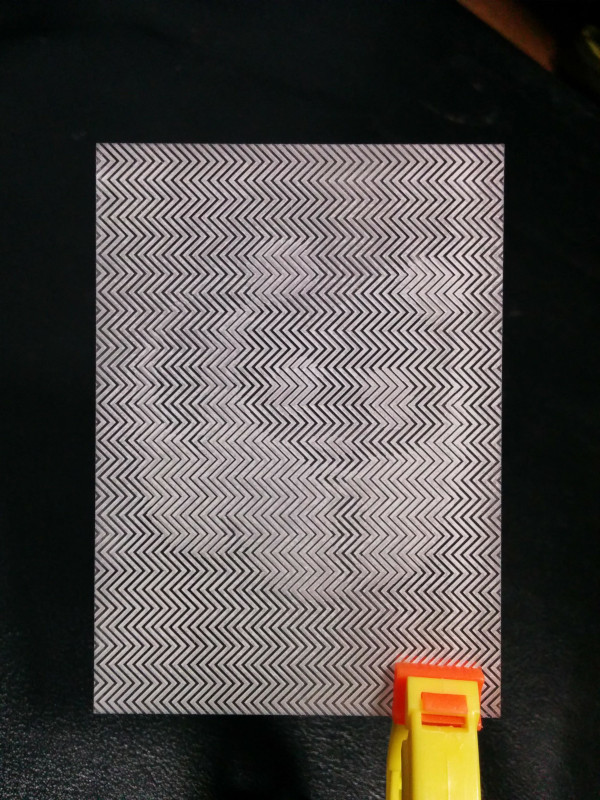
The result (laser cut):
I ended up cutting it, on a transparent acrylic board, with a laser machine.
The above cnc requirements (deep slotting with so small end mill) were quite hard, I couldn't make up my mind doing.
It was the first time I used a laser, but compared to metal cutting, laser graving is so easy, I already feel spoiled.
---
TODO:
(the program)
While I followed a normal customization path the program provided ('p2cconfig.py' and 'p2cmodule.py'), the codes were rather forced, I cannot say the program integrates them well.
So I cannot explain the codes, although it was the intention of the article.
(the cutting)
On the images, and with the actual eyes, the cut part looks white, on a (glossy) transparent acrylic board. The uncut part, on the other hand, looks black. so it would be better to reverse the cut and uncut part.